
Dulce de leche cake is something I wouldn't normally think of making. Simple fact - I'm lactose intolerant. My body can take in small amounts of dairy without any untoward consequence BUT in a cake such as this, where there is a rich combination of dulce de leche and pastry cream, I know for sure I will be in trouble!

I had shared a similar cake nearly four years ago but only talked about it and never posted the recipe. I didn't really feel like making this cake again, not only for the reason stated above, but also because it entailed doing a lot of things.

The cake itself is a vanilla chiffon. It is frosted with a dulce de leche Swiss meringue buttercream and filled with pastry cream. On the cake top are dulce de leche and chocolate flakes and on the sides, toasted cake crumbs.
When I first made dulce de leche cake, I sliced a thin layer from the vanilla chiffon, then crumbled and toasted it. The toasted crumbs were light in colour then because I started with fresh cake. I didn't do that this time around because I wanted to keep the full height of the cake. All I used to make the crumbs for this new cake were the brownish crusts from the cake top and sides. Scraps, in other words. (I actually remove the crusts for all my cakes. Normally, my husband likes to eat them or if he's not around, I would throw them out. For this cake, there's no waste!)
The pastry cream here is barely sweet. Dulce de leche is cloyingly sweet by itself so it is important to counteract it. The Swiss meringue buttercream also has less sugar than my usual recipe because of the addition of dulce de leche to it.
DULCE DE LECHE CAKE
Make ahead your cake, toasted cake crumbs, dulce de leche, and pastry cream (like a day or two before you need the cake).
You know how to make vanilla chiffon cake by now, don't you? Recipe here.
To make the toasted cake crumbs:
Once the cake is completely cool and you've removed it from the baking tin, carefully slice off the top brown crust. For the sides, just gently rub your fingers back and forth against it and the crust should fall off easily. You will be left with a clean cake like this...
.jpeg) |
| Wrap this cake in cling film, place in a plastic bag and refrigerate or freeze first. |
And scraps like these...

Place the scraps in a tray and bake in a preheated 180 deg C oven for a few minutes, till dry and crispy, then crumble them with your fingers. Store in a ziploc bag or in a small airtight container for use later.
 |
| My crumbs did look too brown (because they were from the crusts) but not burned. |
Alternatively, if you don't like to use the cake scraps, just horizontally slice off about a 1/4" thick layer of cake, then toast this instead to get lighter coloured crumbs.
To make dulce de leche:
There are several ways to make dulce de leche from a can of sweetened condensed milk. Some boil the can itself in a pot for several hours, some do it in a pressure cooker. I personally prefer the oven method.

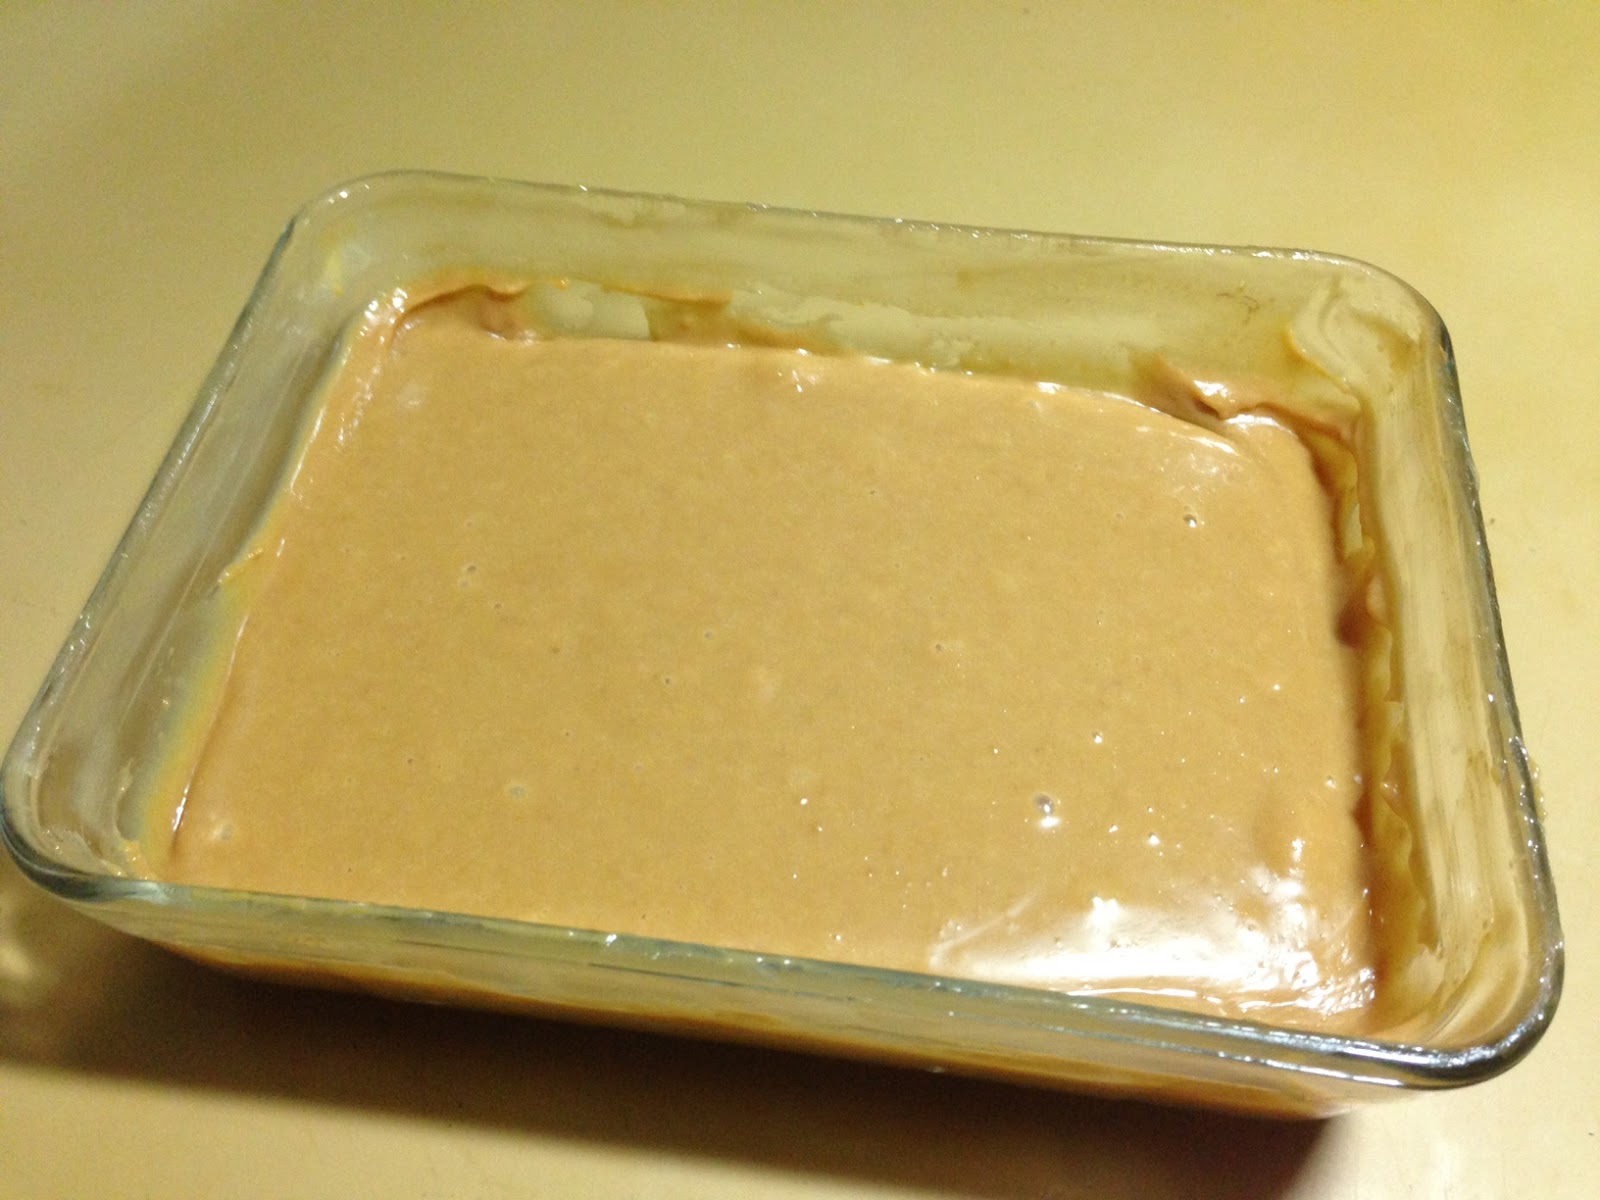
Pour boiling water into the larger tray until it reaches at least halfway the sides of the dish. Bake in a preheated 200 deg C oven for 1 1/4 - 1 1/2 hours. Check occasionally and refill the tray with boiling water, if needed. Let the dulce de leche cool down then whisk until it becomes smooth. Set aside covered in the fridge until needed.
Before using, warm slightly in the microwave to make it softer and more fluid then whisk.
To make the pastry cream:
You will need:
1 1/4 cups fresh (whole) milk
3 large eggyolks **
1/4 cup sugar
pinch of salt
2 tablespoons plus 2 teaspoons cornstarch
1 teaspoon vanilla extract
** Reserve the eggwhites for the buttercream.
In a small jug, whisk together the eggyolks, sugar, salt and cornstarch. Set aside.
In a small saucepan, over low to medium heat, warm the milk just until it starts to boil. Without turning off the heat, pour some of the milk into the eggyolk mixture to temper the eggs. Mix until smooth. Pour this back into the remaining milk in the saucepan. Mix until the pastry cream reaches a very thick consistency. Off the fire, mix in the vanilla extract.
Transfer the pastry cream to a small bowl or container then place cling film directly over the surface to prevent a skin from forming. Place in the fridge for a few hours or overnight.
Before using, whisk the pastry cream until it goes back to its creamy consistency.
To make the dulce de leche Swiss meringue buttercream:
Follow the same recipe and procedure as detailed here but lessen the sugar to 1/2 cup.
After the last step, mix in 1/3 cup of dulce de leche. Beat until well combined.
To assemble the cake:
(Remember: Whisk your pastry cream before using to make it smooth. Heat the dulce de leche gently to soften it.)
Cut your cake horizontally in half. Invert top layer onto your cake board, cut side up.
Fill a piping bag fitted with a large star tip with buttercream then pipe a dam around the cake edge. Fill the center of the dam with pastry cream. Top with the other cake layer, cut side down. Cover the whole cake with buttercream.
To cover the cake sides with toasted cake crumbs, lift the cake board with one hand and hold at a slight angle. With the other hand, sprinkle the cake crumbs onto the side of the cake. Do this all around. Be prepared to make a bit of a mess!
Before proceeding, remove the excess cake crumbs that's fallen into your cake board. Clean up your work space!
Refill the same piping bag with the star tip with the remaining buttercream. Pipe large rosettes around the cake top, leaving no spaces in between each. Pour some dulce de leche on the center of the cake. Tap the cake gently or tilt from side to side to help the dulce de leche spread towards the rosette border.
To finish off, garnish each rosette with chocolate flakes or shavings.
 |
By the way, the cake pictured above was for my husband's birthday last Thursday. I didn't eat a slice but since he ate two slices consecutively, that probably meant he liked it, right? My daughter especially loved the buttercream and she normally hates buttercream. I reckon that's good enough to give this cake a thumbs up!
Enjoy!

Tidak ada komentar:
Posting Komentar